Water System
Water is a important aspect of any build and there are lots of fittings and connections in any system that needs to deal with water. There are two main systems we need to plan for when thinking about a water system in a van.
Fresh water system
Gray / Black water system
Fresh Water System
First lets tank about fresh water storage containers. We recommend the standard size water tanks below that are readily available from Amazon. They offer several different measurements and capacities to suit your needs. Be sure to measure out the space and make sure the tank and all needed fitting off the tank will fit as well!
Tanks
If space is a concern you can also opt for a over the wheel well water tanks but expect to pay a premium for these tanks. There are many great supplies for these tanks such as the ones listed below:
Water Pump
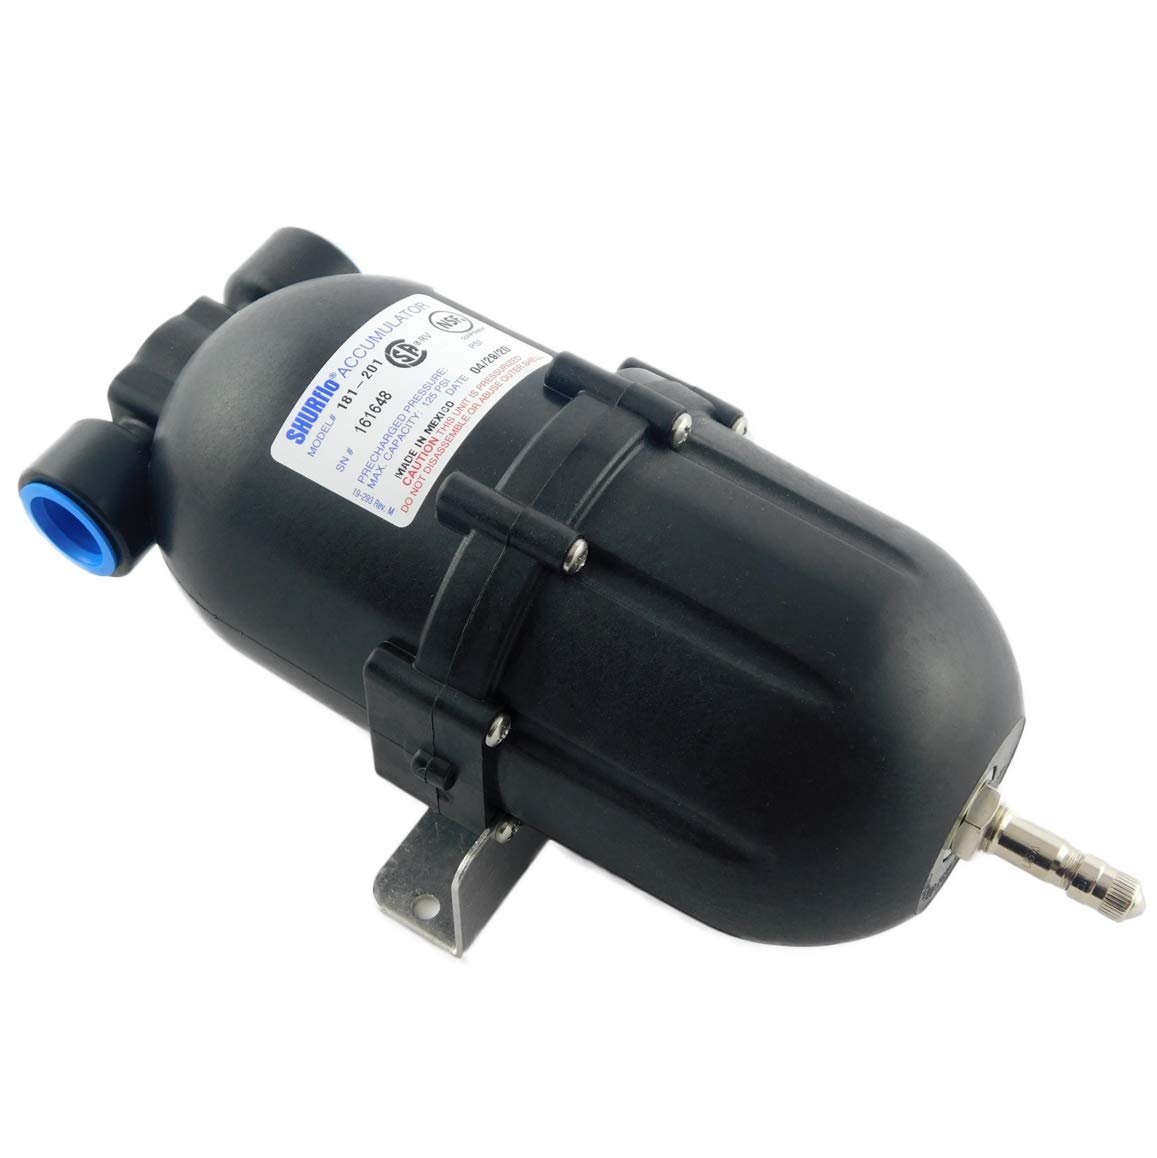
Next, we need to focus on getting the water out of the tank and to the faucet, shower, toilet, bike washing station, jacuzzi or anything else we are installing in the van. For this we almost always suggest a SHURflo Marine grade system and silencing kit.
Piping and Fittings
For our Vans we stick with Pex tubing and and brass crimp on connections. These fittings have been a round for a while and have showed positive results in demanding environments such as a van conversion. Pro Pex is a new connection that is often being used in new plumbing systems but due to the lack of availability at general retailers such as Home Depot or Lowes and the need for expensive tools to install we can not recommend these connections as of yet.
You will also need plenty of brass fittings to make 90 degree turns, add T’s and make connections to various fixtures. These can easily be picked up at your local hardware store once you know exactly what fittings each of your fixtures requires.
Grey / Black Water System
All that water that you pumped to your sink, shower, or dishwasher now has to drain some where. This is where your Grey system comes in. Your grey system collects any waste dirty water that goes down the drain and stores this water until you are at a location that is safe for dumping. We are not going to cover Black tanks for this guide as most people in van conversions forgo this system completely and utilize a composting or cassette toilet.
Grey Tank
In most of our builds we put the gray tank under the vehicle. This is done for a number of reasons first, this allows use to use gravity to drain waste water to the tank and second, this also allows us easy access to the tank to dump the grey water responsibly. Grey tanks are tradittionally in RV’s are Black ABS Plastic but a standard white tank will work as well. The most important thing is taking careful measurements of the tank to ensure the tank will fit where you would like to place it. we recommend a shallow tank that is about half the capacity of your fresh water tank. For example, if you have a 40 gallon fresh water tank look to fit a 20 gallon grey water tank in / on your van.
To connect the various drains to the Grey tank we utilized 1” ID flexible tubing. The tubing was malleable enough to fit through holes we created in the van floor as well as flexible enough to be routed where we needed it under the van. We used some of the products below to make plumb the grey water system and about 50 trips to the hardware store for additional fittings. The Motorized ball vlave was used on our drain for the grey tank to dump the grey water when needed from inside the van. The HepvO waste valve is a must for keeping odors from the grey tank from reaching the van interior. A “P-trap” can also be utilized but this saves a lot of room!


